

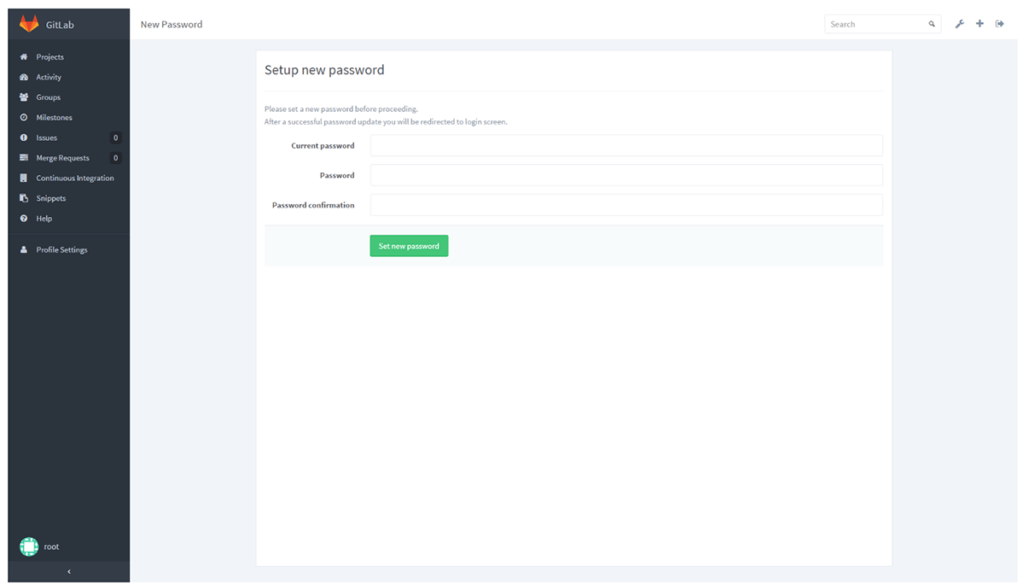
Step 4 – GitLab Login
Switch to the URL of the chosen domain (in our case http://gitlab.wdscode.guru ) and login with the default GitLab credentials:
Username: root
Password: 5iveL!fe
Change password on first login.
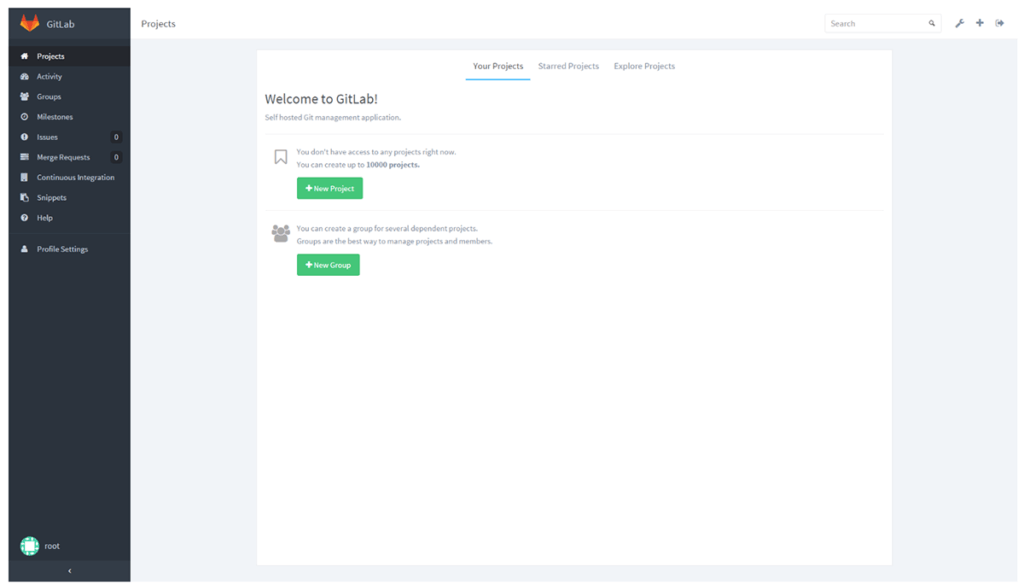
As soon as login with the new credentials, you’ll have access to GitLab.
At this point, if you want to access the repository via SSH instead of HTTP, you need to generate a public SSH-2 RSA key for your client.
On Windows you may use Git Bash (already included with Git for Windows) or PuTTy‘s puttygen.exe command. On Linux or in the first case, once launched Git Bash from the Start menu, the command is:
ssh-keygen -t rsa -C ""On Linux, the generated public key can be read with:
cat ~/.ssh/id_rsa.pubWhile on Windows it will be disposed in the following path:
%USERPROFILE%\.ssh\id_rsa.pub
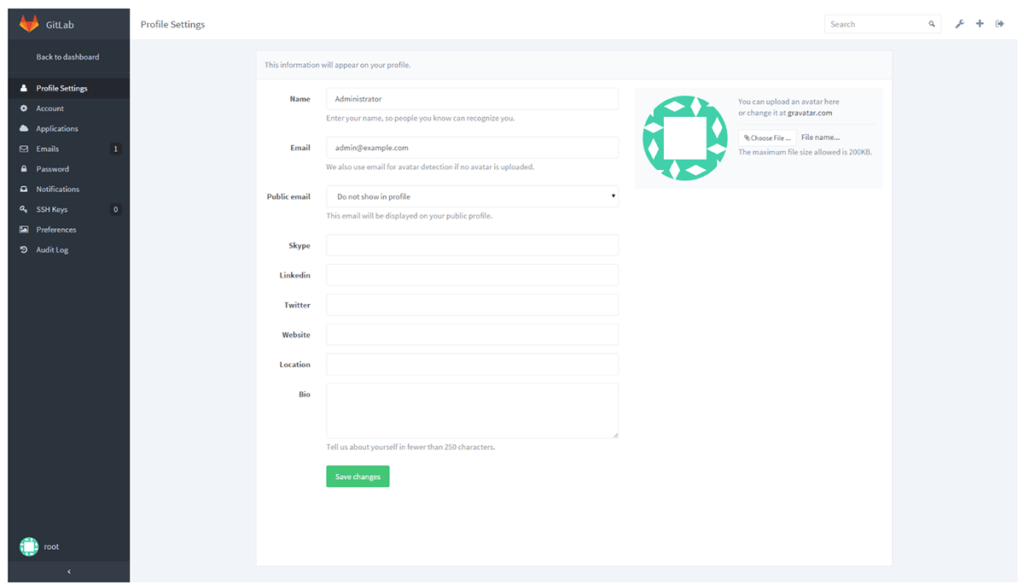
Next, to set up SSH key click on “Profile Settings” or the profile (root) icon on the bottom left of the GitLab page to access the profile settings:
Then click on “SSH Keys” in the left menu and at last on the “Add SSH Key” button on the top right corner of the window.
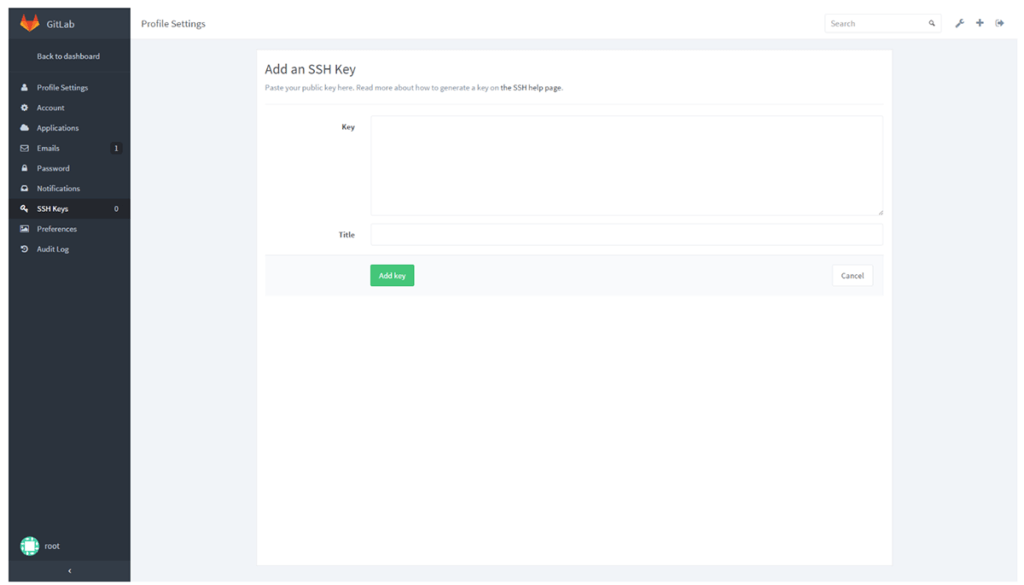
Type in a name for your key (basically your email or client’s name) in the “Title” field, paste the public key in the “Key” field and click on “Add key”.
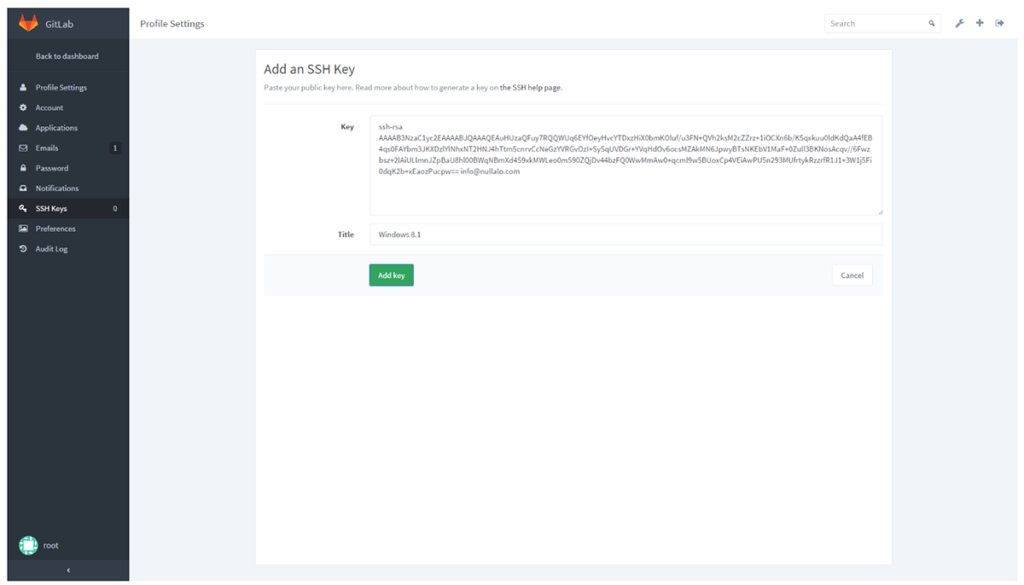
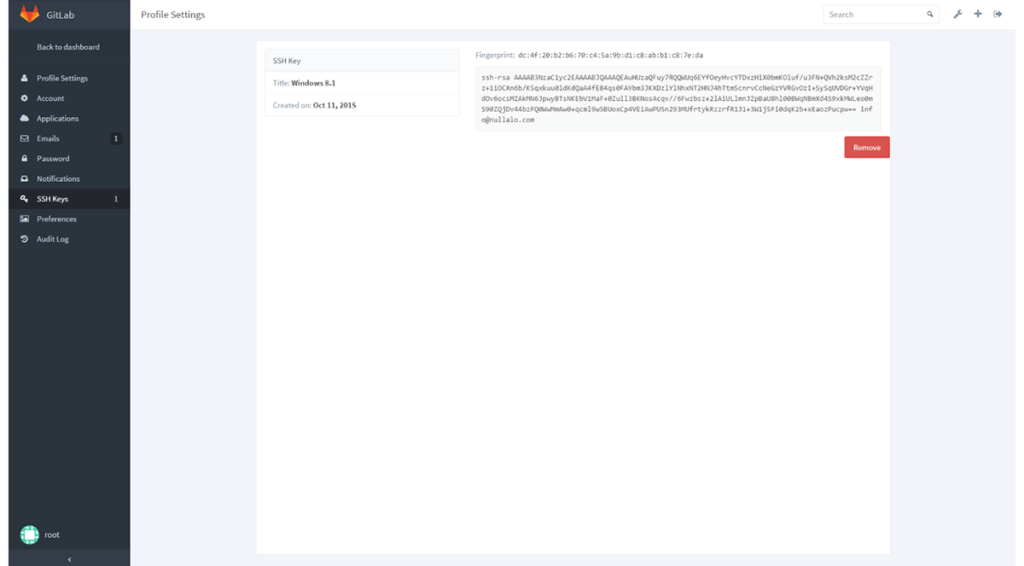
If the key generated not correctly (because pasted only a part of it, or is not in SSH-2 RSA format), you got “Fingerprint cannot be generated” error, but if everything is alright here what you will see:
Step – 5 Final checks
If you want to check SSH connection between your client and GitLab server (in our case, http://gitlab.wdscode.guru ) then just use this Git Bash command:
ssh -T [email protected]Welcome to GitLab, Administrator!
In case you got a warning like “The authenticity of host ‘gitlab.wdscode.guru (192.167.1.186)’ cannot be established.“ then answer “yes” and press enter, and it won’t be asked again (the host will be added to the list of known hosts in the known_hosts file).
And when it’s all done, please, test for bugs while using GitLab with:
tail /var/log/gitlab/unicorn/unicorn_stderr.log -f tail /var/log/gitlab/gitlab-rails/production.log -f tail
/var/log/gitlab/gitlab-shell/gitlab-shell.log -f
Also ensure that the additional Nginx directives are correct, namely that the chosen virtual host (in our case http://gitlab.wdscode.guru ) is the only one to point to GitLab by simply visiting another domain hosted by the server (eg http://www.wdscode.guru).
And finally, we recommend for the first time try it on a copy, not on the production environment because of particular configuration of your server may cause unexpected and not discussed in this article errors.

Get a Custom Solution with Web Design Sun
At Web Design Sun, we specialize in building web applications for clients in every business and industry. If you’re interested in custom applications for your business, contact us today.
Contact us today to get started